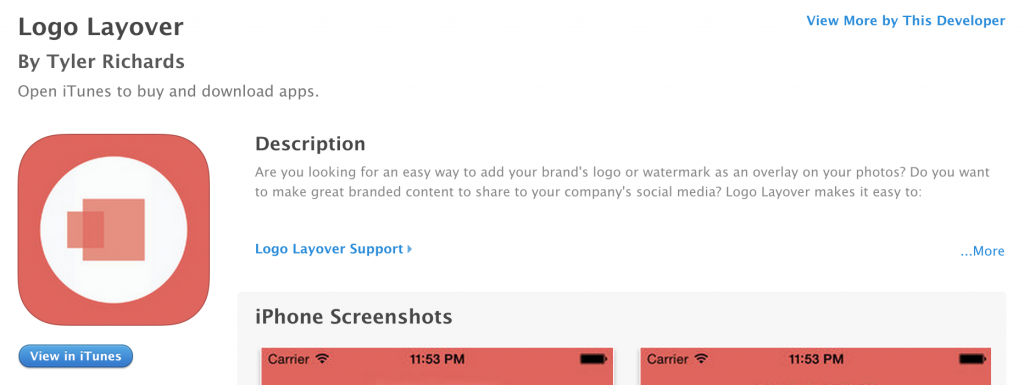
I would like to start off by saying I am a complete mobile app newbie and by no means know what I am doing. I hope that no mobile gurus will come here and say I’m an idiot, because I went into this knowing that already. But some how my first iPhone app, Logo Layover, is in the App Store. I thought I would share about my experience.
It is every entrepreneur’s dream to have passive income from a business that runs with minimal involvement. I have heard of others accomplishing this through mobile apps and I officially decided to try my hand at it. So with out further ado, here is what I experienced in building my first iPhone app.
APP CONCEPTION
The last few months I have been managing social media content for two companies I am involved with. I found myself constantly taking pictures and posting them to each company’s social media accounts to engage followers of the brands. I was always editing the pictures in Photoshop or Illustrator prior to posting. I would add a blur her or a color there, but mainly I was editing the photos in order to slap our company’s logo in the corner of the picture. After a few months of doing this I thought to myself “there’s gotta be an app for that.” I searched the App Store and found apps that could do what I wanted, but being the designer that I am, they seemed broken and ugly. So I set out on a mission to build my first iPhone app. My goal was for it to do one thing, but one thing very well… layover a logo onto a picture. Hence the name was born, Logo Layover.
BUILDING THE APP
It has been 5 years since I wrote my first line of code. I have a bit of web development under my belt, with a huge emphasis on front end, so I know a bit about coding. But I am no iOS developer. I talked to a friend who had previously made an app using hired help from ODesk. He said his experience was not the greatest but that it got the job done. I decided to still try it out.
Before posting to ODesk I started preparing the idea for my first iPhone app. I have had some experience before in Xcode. I previously built the bare bones structure of an app for a company of mine, so I did the same with Logo Layover. I designed it out, laid out the screens, framed them, and got the body of the app ready in Photoshop mock ups and in Xcode.
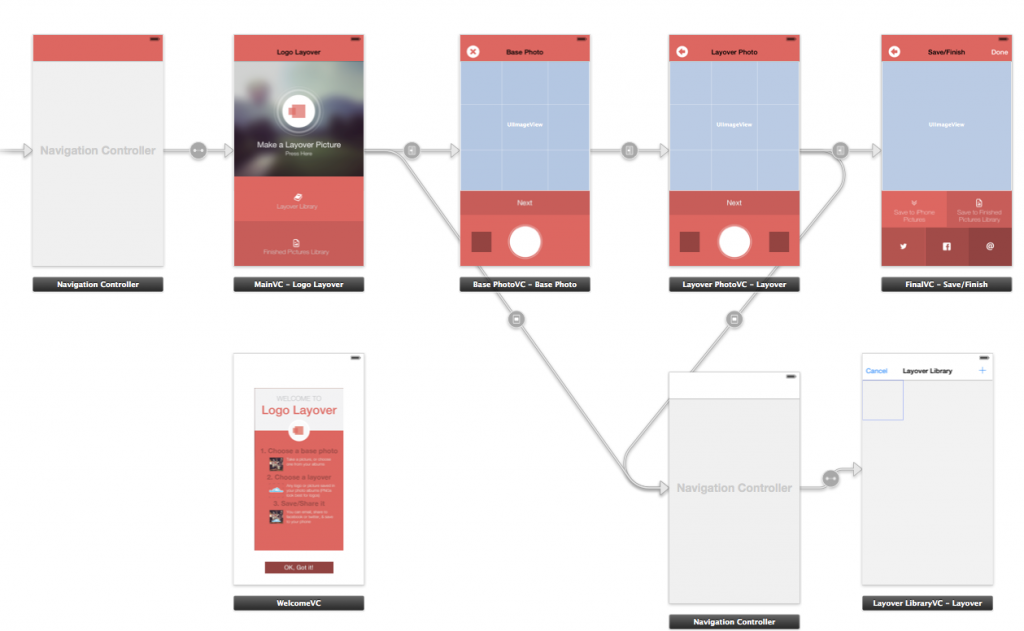
Designing the whole app was a huge part of the process. Taking the app from idea, to design, to the Xcode storyboard was the main preparation I did before submitting the job to ODesk. I plan on writing a post in the future on how exactly I did the design phase (pre-ODesk). I figured the less someone had to do on ODesk the cheaper I could get the job done for. I did not want to shell out $1000 in development work for a product I was only experimenting with.
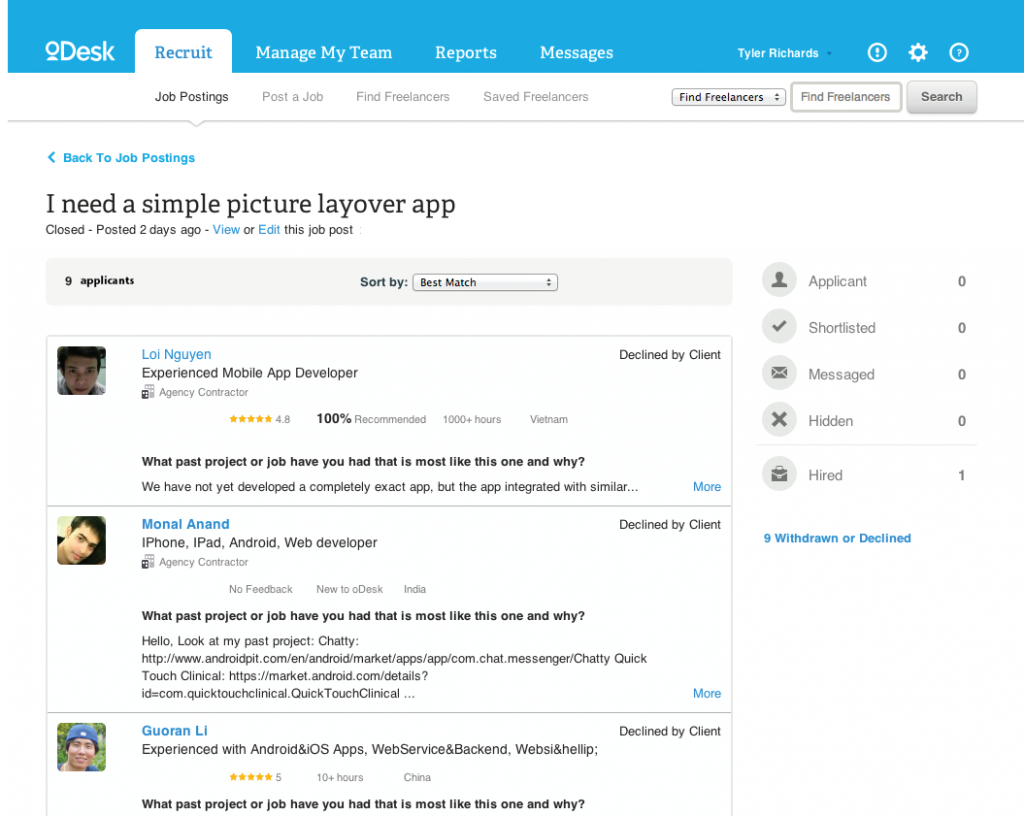
I signed up for ODesk and posted the job. It was a super simple job posting that included a few screen shots and a basic description of what I wanted done. I posted the job for a $100 flat fee. I know that sounds super cheap. but I had already done all of the design work and storyboard. All I needed someone to do was connect the dots in Objective-C. Which I wish I knew, but plan on learning.
About 24 hours later, I had 10 offers from 10 developers wanting the job. One of these, a Chinese iOS developer name Jin, said he would do the job for $90. So naturally, I took his low-ball offer and it was off to the races with my new found buddy.
After some late night Skype sessions and some language barriers, Jin finished what he needed to do with the app. In less than a week he delivered the source code, I paid him $90 bucks, and that part of the process was done. I know I make that sound too easy, but it really was. The preparation I put into the app prior to ODesk made the ODesk process easy. My friend who had told me about ODesk said that my app experience with ODesk has been a way better turn out than his. I don’t know, maybe I just lucked out with Jin who is secretly a Google level coder, but I think it was my initial preparation that made it easy for Jin to just wrap it all up nicely.
FIRST IPHONE APP STORE SUBMISSION
So far the juice had been worth the squeeze. In a little over a week from when I originally hired a developer, and $90 later, I had an app ready to be uploaded to the App Store for approval. It was ready to make its debut to the world.
But first, to submit an app I had to be an official “Apple Developer.” I had to enroll in the Apple Developer Program. I have had access to this program with previous companies’ accounts, but I did not want to use those companies’ licenses for my personally developed first iPhone app. I purchased an individual Apple Developer License for $100. This then gave me access to all of Apple’s developer tools.
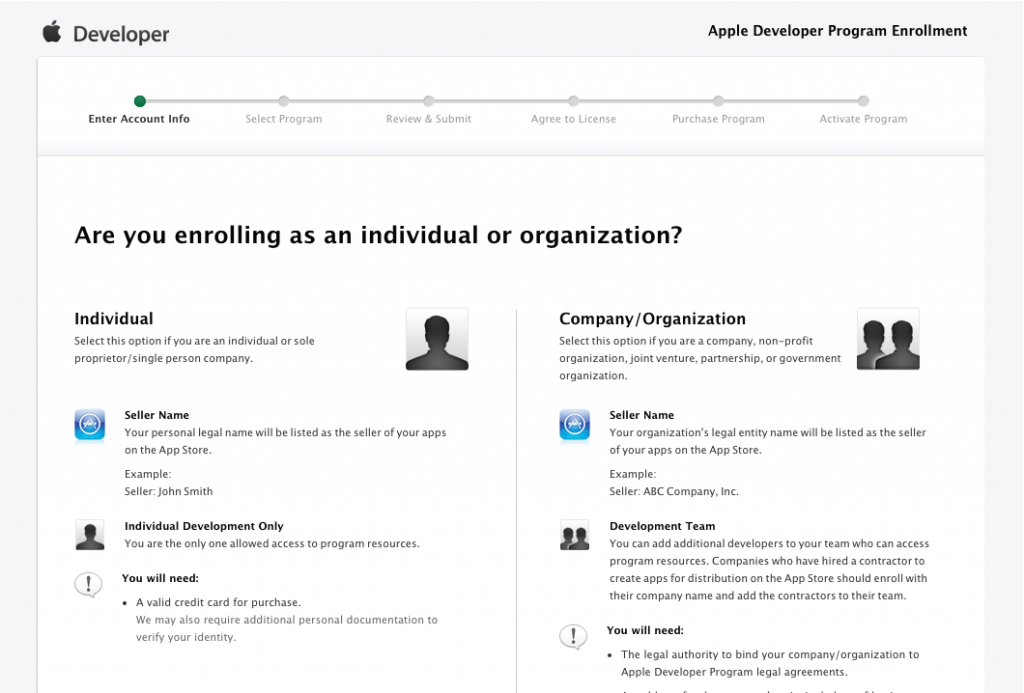
Then I set up the iTunes Connect record. This is very straight forward. Once I had my individual Apple Developers license, I had access to iTunes Connect. I simply added a new app to my profile by following the step-by-step process that it takes you through.
iTunes Connect prompted me to fill out the app description, upload app icons, app screenshots, and app metadata. Once the profile for my new app, Logo Layover, was completed the status was changed to “waiting for upload.” That meant it was time to upload the binary code via Xcode and to assign it to the iTunes Connect record I had just made.

Before uploading the code of my first iPhone app, I needed to make sure that I had an App ID, a valid distribution certificate, and a valid provisioning profile. This is the most confusing part of the process for us non-iOS/iPhone developers. It took me some reading and searching online to figure out how to do this. I will hurry along that process for you by pointing you toward what I found: here and here. With the App ID, distribution certificate, and provisioning profile in place, and my build settings in Xcode, I then uploaded the binary source code to iTunes Connect via Xcode.
After uploading the binary, I submitted the app! It felt good.
Then it was the waiting game. I had to wait for the dreaded response from Apple for the approval of my app. I think the whole approval process took 3 days. To my surprise my app was approved on my first submittal. I received an email randomly in my inbox telling me that my app was approved and that it was processing for the App Store.
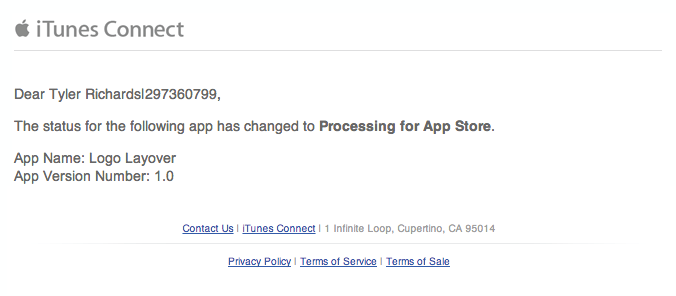
After receiving the email I searched for “Logo Layover” on Google and sure enough my app was live.
MONETIZING MY FIRST IPHONE APP
I definitely wanted my first iPhone app to be free, mainly because I almost never pay for apps myself. I figured placing ads in the app to make a little bit of money over time would be better than charging $0.99 upfront. The decision was a tough one, especially when I was paying development costs before getting a single download. But ultimately, I figured, no one would be willing to pay for such a simple app.
To monetize, I added ads to my first iPhone app. I chose to go with the AdMob mobile ad network from Google. I chose AdMob after a little bit of research and because I already had an AdSense account. AdMob combines with all of my YouTube ads into a single AdSense account. It is all in one spot and makes managing and analyzing it all much easier. AdMob handles all the ads and advertisers and is super easy to implement. I do not have experience with other mobile ad serving platforms (if you have had better experiences with others please comment), but all I had to do was basically copy and paste code into my app’s source code with my AdMob key ID.
I heard that AdMob gives horrible eCPM (thats ad lingo for effective cost per thousand impressions and it is the amount of money you get for every one thousand impressions of ads in your app) but I honestly didn’t care. By no means did I expect my first iPhone app to explode with success, which it hasn’t. I don’t expect it to be downloaded thousands of times. But for my future apps, I might change.
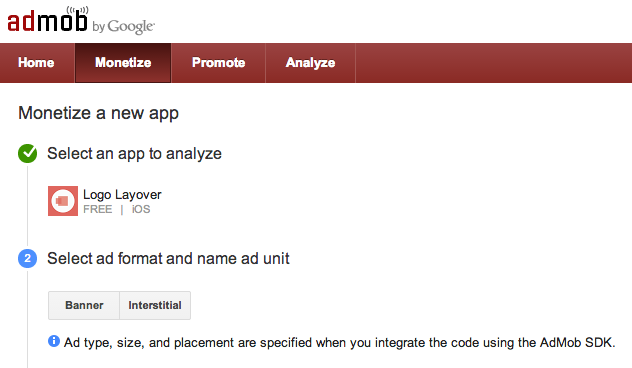
I decided to put interstitial, modal (pop-up) ads in my first iPhone app. I didn’t originally design the app for banner ads and I didn’t want to throw off the whole design by scrunching everything vertically with banner ads. I felt like it would take away from the user experience. I admittedly did not research what type of ads perform better. I didn’t think it would make too much of a difference.
ANALYZING MY APP
My app launched on June 8th. The next morning (and literally every day since) I woke up and first thing I checked was my iTunes Connect account to check the stats. On day one Logo Layover was downloaded 64 times. The next day, oddly enough, it was downloaded 64 times again. The majority of the downloads came from Europe and Asia.
Now since June 8th, my first iPhone app has been downloaded 263 times. That is an average of 30 downloads or so a day. It started as a small side project with the explicit goal of hopefully generating some kind of income. Maybe something equivalent to paying for a meal for me every month. As of yesterday it’s generated a grand total of $7.41 in revenue from ads.
OVERALL THOUGHTS ON MY FIRST IPHONE APP
While it is not anything close to amazingly successful, I’ve already got my first meal paid for. I’m pretty pumped about how my first app dry run turned out.
In summary, I successfully launched an app I designed. It took less than two weeks for everything, and it’s now live on the App Store. In many ways, you could say that I accomplished my mission. However, there is a lot more potential to be tapped. I learned a lot and I feel like I can replicate this again but with more know-how. If you have any ideas for my next app, let me know. I can’t wait for the next idea to spring into my head, because I am going to act on it as soon as I can.
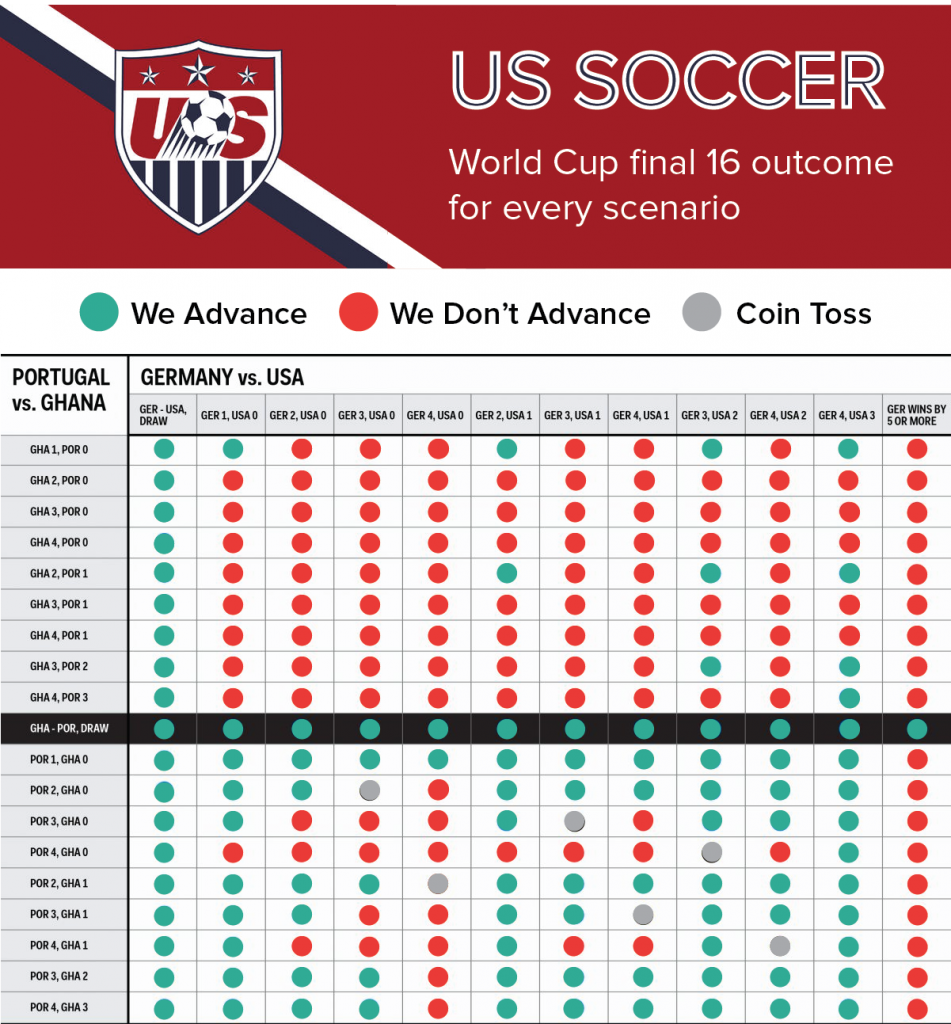 There are so many outcomes depending on both games that are left in Group G. The US hasn’t let our country down yet, and there is no reason to stop believing. I believe. Go US!


